Moving out of a rental property can be both exciting and stressful. There’s a lot to tackle, from packing up your belongings to ensuring your landlord is satisfied with the property’s condition. Whether moving to a bigger space, a new city, or even buying your home, leaving your rental on good terms is crucial. After all, a clean break ensures you’ll get your security deposit back and avoid potential legal disputes.
Preparation and organisation are key. With some planning, you can save time, reduce stress, and leave your rental home with a spotless record. Here’s a detailed guide to help you exit your rental property smoothly and responsibly.
1. Understand Your Lease Agreement
Before you even begin packing, revisit your lease agreement. This document outlines the rules and obligations for both you and your landlord, and it’s your blueprint for a compliant move-out process.
- Check your notice period: Most leases require a 30, 60, or even 90-day notice before moving out. Inform your landlord in writing within this time frame to avoid penalties.
- Review move-out requirements: Look for specific instructions, such as cleaning expectations, key returns, or required maintenance.
- Document your communication: Send notices and inquiries via email or in writing so you have a record if any disputes arise.
By aligning your actions with the lease agreement, you’ll avoid last-minute surprises and adhere to your obligations as a tenant.
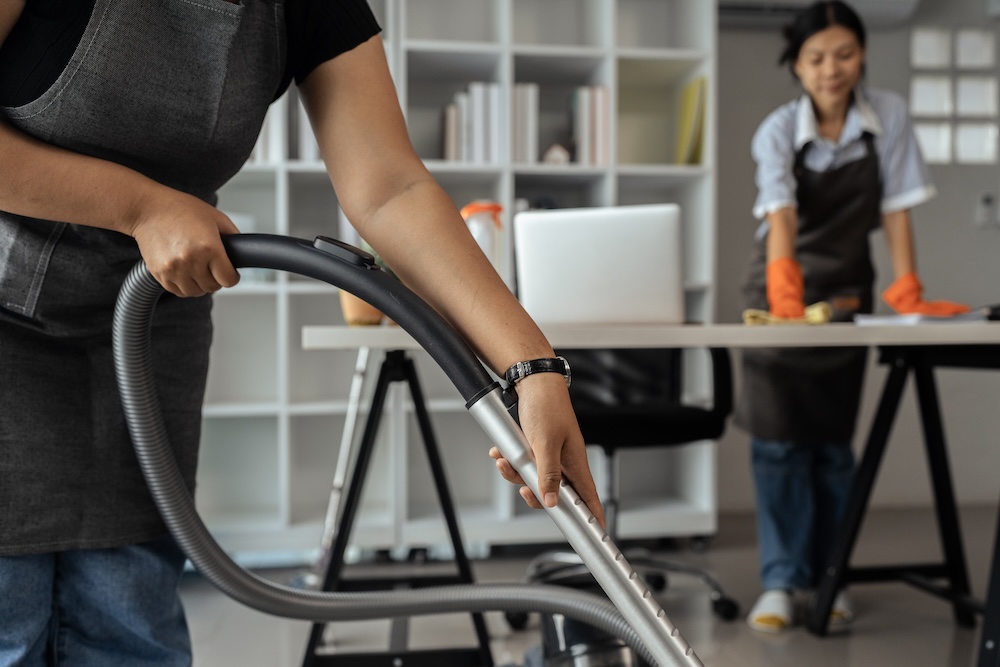
2. Deep Clean the Property
One of the most critical steps to secure your security deposit is leaving the property spick and span. A deep cleaning session isn’t just courteous, it’s often required.
- Focus on high-traffic areas: Scrub floors, walls, countertops, and bathroom fixtures. Pay attention to often-overlooked spots like baseboards, behind appliances, and light fixtures.
- Clean carpets: If you’ve lived in the property for a while, thorough carpet cleaning may be necessary. Consider hiring professionals if stains or odors are present.
- Empty cabinets and closets: Wipe down all surfaces inside cabinets and closets, leaving them empty.
- Remove trash and personal items: Don’t leave anything behind unless previously agreed with the landlord. Unwanted items can result in a deduction from your deposit.
Remember, landlords typically compare the move-in condition to the current state of the home. Cleaning up carefully can help you pass that inspection with flying colors.
3. Handle Repairs and Damage
Normal wear and tear is expected, but significant damage can cost you. Before leaving, inspect the property for anything that may need repair or replacement.
- Patch nail holes: Fill in holes from picture hangers and nails with spackle, and repaint if necessary.
- Fix minor issues: Replace burnt-out light bulbs, tighten loose door handles, and repair leaky faucets.
- Address major damages: If you’ve caused significant damage to walls, flooring, or fixtures, consider consulting with your landlord for the best course of action. Proposing to fix things before they deduct from your deposit shows goodwill.
- Don’t skip appliances: Clean and test all appliances to ensure they function as they did when you moved in.
Taking care of repairs yourself is usually more affordable than letting your landlord deduct the cost, which could also result in higher markups or fees.
4. Conduct a Pre-Move-Out Inspection
Some landlords offer or require a pre-move-out inspection, allowing you to identify issues before your official departure. This step can save you time and help avoid potential disagreements.
- Schedule the inspection early: Coordinate the walkthrough at least a week before your move-out date so you have time to address any concerns.
- Take notes and pictures: Document any damage noted in the inspection and discuss whether it counts as wear and tear or tenant-caused damage.
- Verify shared agreements: If the landlord highlights issues for you to fix, confirm these agreements via email or text.
A pre-move-out inspection shows your proactive approach, demonstrating that you care about leaving the property in good shape.
5. Return All Keys and Security Items
Returning property keys and other security-related items is a must to finalise your move-out. Unreturned keys and access cards can cost you fees or lead to disputes, so check the following before moving out.
- Double-check your keys: Make sure you’ve located all original keys to the house, as well as any duplicates or spares you had made during your stay.
- Return access items: This includes garage remotes, security fobs, and parking permits.
- Confirm handover: Hand these items to your landlord in person, and request a receipt or written acknowledgment.
By promptly returning keys and access items, you avoid complications and wrap up this portion of the rental agreement cleanly.
6. Document Everything
Before officially vacating the premises, do a thorough walkthrough and document everything with photos and videos. This step is crucial should any disagreements arise about the property’s condition after you leave.
- Capture move-out condition: Take detailed photos of the entire property, including freshly cleaned or repaired areas.
- Compare with your move-in documentation: Match the current condition with the move-in report to demonstrate effort and compliance.
- Save copies of all paperwork: Keep your lease agreement, move-out notices, cleaning receipts, and inspection findings in a safe folder.
By securing solid evidence of the condition you’re leaving the property in, you’ll protect yourself from unjust claims or deductions.
7. Finalise Utilities and Address Changes
Don’t forget to cover administrative tasks like canceling or transferring utilities and updating your contact information. These small but important details can save you unnecessary hassle down the road.
- Set up utility disconnections: Notify power, water, gas, and internet providers of your move-out date and schedule final meter readings to avoid extra charges.
- Update your address: Redirect your mail through the postal service and update records with banks, employers, and subscriptions.
- Coordinate move-out deliveries: If you’re hiring a mover, provide clear pickup details and ensure they have gate or building access if needed.
Getting these final steps in order makes your transition out of the rental smooth and organised.
Moving Out with Confidence
A little preparation and effort go a long way when moving out of a rental property. These steps will help you leave on good terms, recover your security deposit, and transition smoothly to your next home.
Reviewing your lease, cleaning thoroughly, conducting repairs, and staying communicative with your landlord can help you avoid unnecessary fees or disputes. Remember to document everything and stay organised with utilities and key returns.
Moving out is more than just packing boxes; it’s about responsibility and respect for the space you’ve called home. With the right approach, leaving your rental can be an easy step forward to your next big adventure!
Divine Commercial Cleaning is committed to delivering top-notch cleaning solutions tailored to your needs. Whether you’re moving out, maintaining your upholstery, or keeping your space pristine, our team has the expertise to help. Trust us to handle the hard work, so you can focus on what matters most. Contact us today for professional cleaning services you can count on!

Dianne, originally from Rockhampton, hails from a business-oriented family, with her father owning electrical stores and her uncle serving as Mayor. Moving to the Sunshine Coast at 13, she later pursued a rewarding real estate career and raised three children. As a single mom, she balanced university studies with domestic cleaning work. Armed with a Bachelor’s Degree in Business, majoring in Supply Chain Management, Dianne founded and grew Divine Commercial Cleaning into a thriving company. Her success is rooted in strong family mentorship, a positive attitude, and a solution-oriented approach, offering tailored cleaning services with integrity and strategic insight.